
Not all visitors who hide their IP address are up to something. But when you look at where WordPress abuse actually comes from, anonymized connections punch far above their weight: credential stuffing through VPN endpoints, comment and signup spam through open proxies, card testing and scraping through Tor. The attacker's first move is almost always to hide where they really are.
That creates a practical question: can you filter out anonymized traffic without breaking the site for everyone else? With the right tooling, yes. This guide shows how to block VPN, proxy, and Tor traffic in WordPress using WordSec, and how to do it carefully, because this is a feature you want to aim before you fire.
Why attackers love VPNs, proxies, and Tor
Three reasons keep coming up in real incident logs:
- They defeat IP bans. Ban one abusive IP and the attacker rotates to the next exit server in seconds. A single VPN provider can hand them thousands of addresses.
- They defeat geoblocking. If you block a country in WordPress, a VPN lets the attacker resurface from an allowed one.
- They remove accountability. Fraudulent orders, fake accounts, and scraped content are much harder to trace when every action comes from an anonymization network.
Blocking these networks does not stop a nation-state. It stops the enormous middle of the abuse spectrum: the bots, the fraud scripts, and the ban evaders.
What WordSec actually blocks
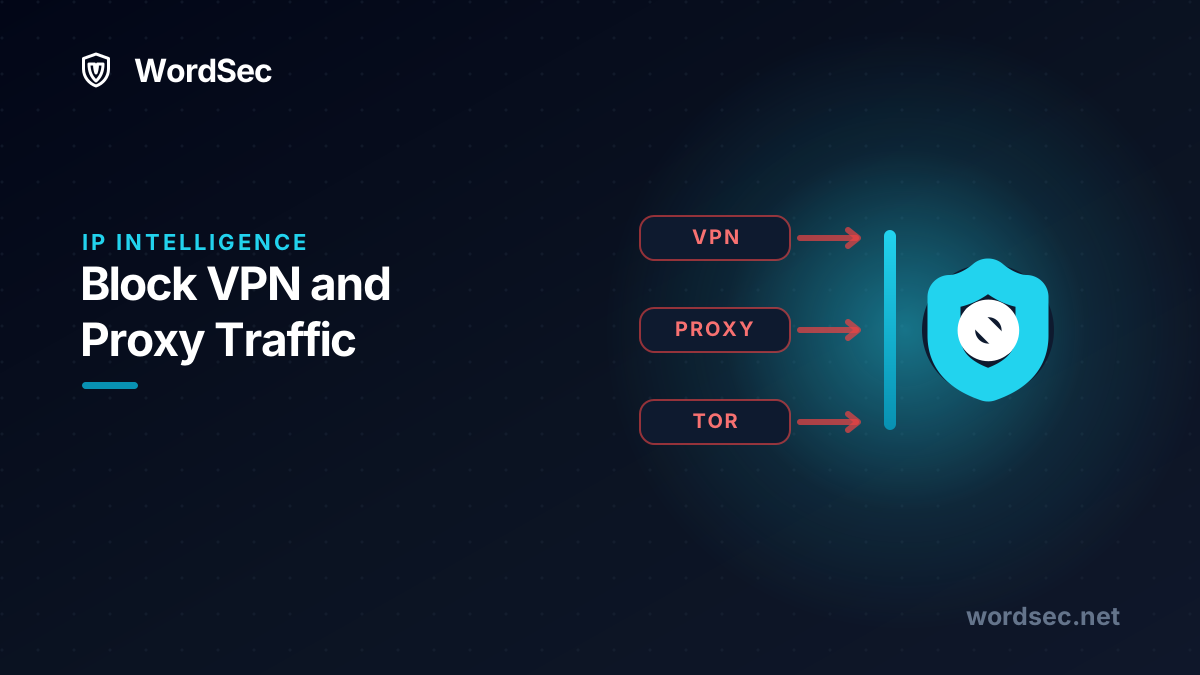
WordSec's Blocking module includes four separate toggles, so you decide exactly how strict to be:
- Block VPN IPs: exit addresses of commercial VPN services.
- Block proxy IPs: open and abusive proxy servers.
- Block Tor IPs: Tor exit nodes.
- Block blacklisted IPs: addresses already flagged for abuse on reputation blocklists.
These four are part of the Premium plan. Everything else in this guide, including geoblocking, rate limiting, and the monitoring you will use to verify results, is available on the free plan.
Step 1: Install WordSec and open the Blocking module
- In your WordPress admin, go to Plugins, Add Plugins and search for WordSec.
- Click Install Now, then Activate.
- Open the WordSec menu and click Get Key to activate your license.
- Open the Blocking module.
Step 2: Decide how strict you want to be
Turn the four toggles on selectively, based on what your site does:
- Every site: enable blacklisted IPs. These addresses have already earned their reputation, and blocking them has essentially no false-positive cost.
- Sites with abuse problems (fake signups, fraud, scraping): add proxy and Tor blocking. Legitimate customers almost never browse a shop through an open proxy or a Tor exit.
- High-security or heavily attacked sites: enable VPN blocking too. This is the strictest setting, because real people do use commercial VPNs for privacy. Decide based on your audience.
A practical middle ground: block blacklisted, proxy, and Tor IPs globally, and leave VPNs allowed if part of your audience is privacy-conscious. You can tighten later if the logs justify it.
Step 3: Whitelist known exceptions
Before saving, think about who might legitimately reach you through one of these networks: your own team on a corporate VPN, an external monitoring service, a partner's office network. Add those IPs or CIDR ranges to the IP whitelist in the same module. Whitelist entries always win, so your team keeps working no matter how strict the global rules are.
Step 4: Set a custom block message
WordSec lets you show a custom block message to stopped visitors. Use it. A one-line message telling a blocked user how to contact you converts the rare false positive from a lost customer into an email you can act on, and you can whitelist them in seconds.
Step 5: Verify the effect in Live Traffic
Open Live Traffic and watch what happens next. Blocked anonymizer traffic shows up in real time, and the Blocking module's banned list records every stopped IP with the reason, so you can tell exactly which toggle did the work. Give it a few days, then compare your login attempt logs and spam queue against the previous week. That before-and-after picture tells you whether to loosen or tighten.
Layer it with the rest of your defenses
Anonymizer blocking works best as one layer in a stack, not a silver bullet:
- Geoblocking removes bulk noise from regions you never serve, and it is free. Set it up first: How to Block a Country in WordPress.
- Rate limiting and 404/403 abuse protection in the same module catch abusive behavior from any IP that slips through.
- Brute-force protection, captcha, and 2FA protect the login even from clean addresses. The full walkthrough is in How to Stop Brute Force Attacks on WordPress.
- The firewall inspects every request for malicious payloads regardless of origin, covered in How to Set Up a WordPress Firewall (WAF).
A quick recap
To block VPN and proxy traffic in WordPress:
- Install WordSec and open the Blocking module.
- Enable the blacklisted IP toggle for every site.
- Add proxy and Tor blocking if you deal with abuse.
- Enable VPN blocking only if your audience allows it.
- Whitelist your team and partner IPs first.
- Write a custom block message.
- Confirm the results in Live Traffic and the banned list.
Frequently asked questions
Will blocking VPNs affect real visitors?
Some real people browse through commercial VPNs, which is why WordSec splits the feature into four separate toggles. Blocking blacklisted, proxy, and Tor IPs has minimal impact on genuine visitors. VPN blocking is stricter, so enable it deliberately and keep a whitelist and a contact path for exceptions.
Can I block only Tor and keep VPNs allowed?
Yes. Each category, VPN, proxy, Tor, and blacklisted IPs, has its own on/off switch, so any combination works.
Is VPN and proxy blocking free?
The four anonymizer toggles are part of WordSec Premium. Geoblocking, IP and CIDR bans, rate limiting, and 404/403 protection are free. See the pricing page for the current plans.
Will this block Google and other search engines?
No. Search engine crawlers operate from their own published infrastructure, not from VPN exits, open proxies, or Tor nodes, so legitimate crawling is unaffected.
How is this different from country blocking?
Country blocking filters by where an IP is located. Anonymizer blocking filters by what the IP is: an exit point designed to hide the real origin. Attackers use the second to defeat the first, which is why the two layers belong together.
Ready to shut the side doors? Install WordSec, start with free geoblocking, and upgrade to Premium when you want the VPN, proxy, and Tor toggles too.